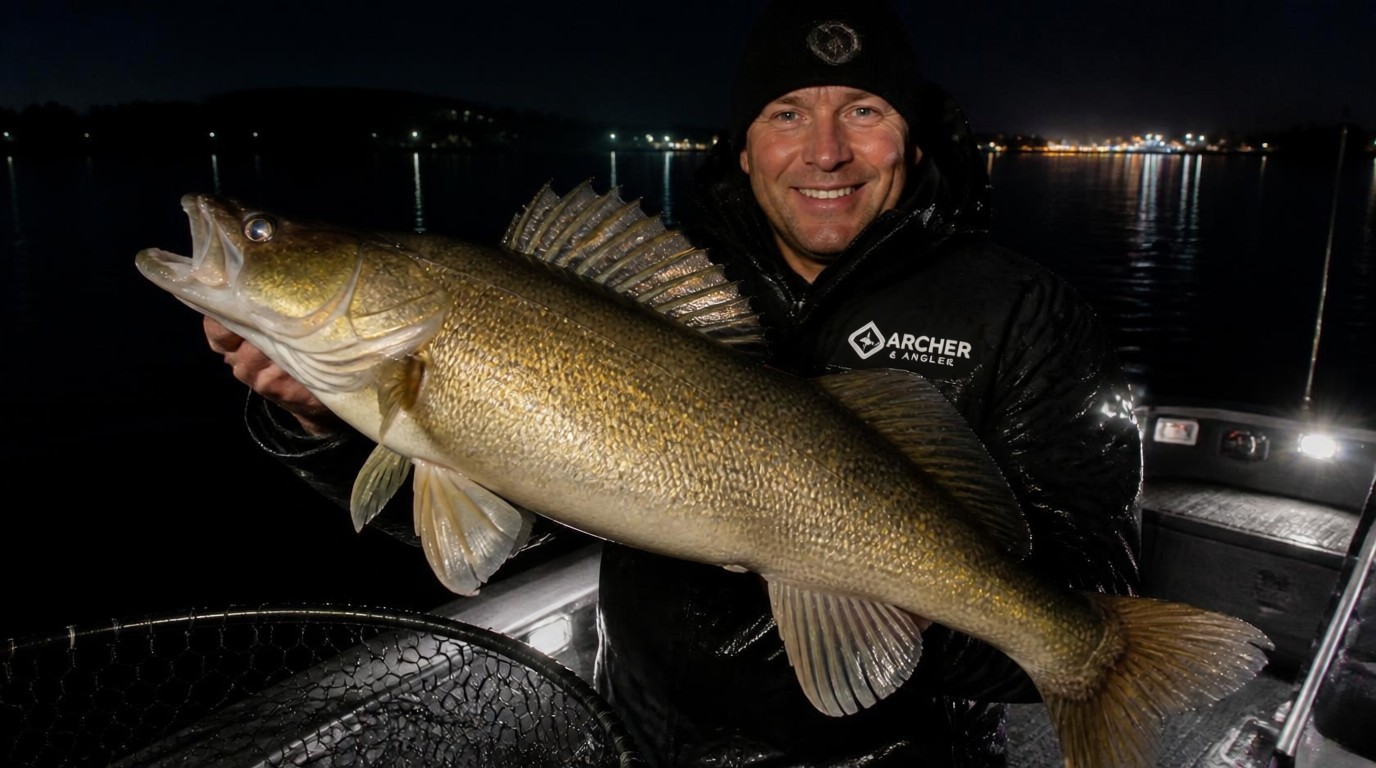
As water temperatures plummet into the 50s during September and October, trophy walleye enter a massive feeding frenzy. To build up energy reserves for the upcoming winter, giant females leave their subtle summer structures and move toward rocky points, island gaps, and shallow reefs to hunt large baitfish like ciscoes, gizzard shad, and yellow perch.
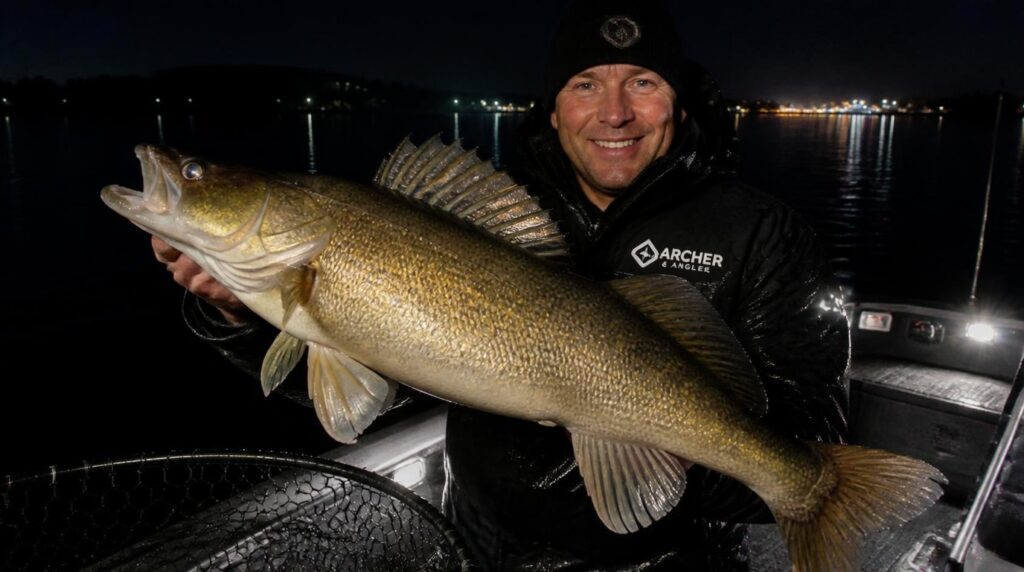
Some of the largest walleye of the entire year are caught during autumn after the sun goes down.
Trolling deep-bodied minnow plugs behind planer boards under a full moon is an exhilarating, highly effective way to land a wall-hanger. Here is your autumn night-trolling playbook.
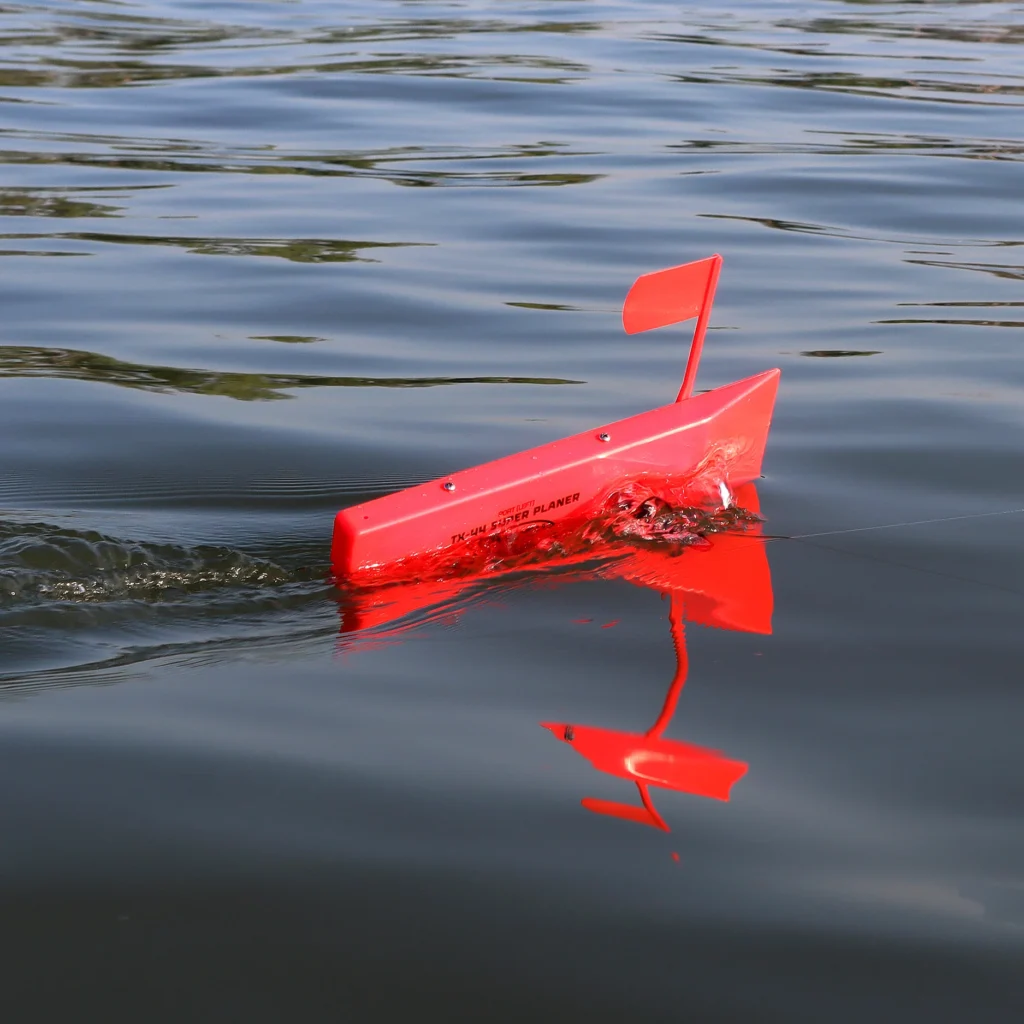
1. Planer Boards: Staggering Your Attack
When giant walleye move into 8 to 15 feet of water at night to feed, your boat’s motor and hull footprint will spook fish holding directly in your path.
Using side-planer boards pulls your lures 50 to 100 feet out to the sides of the boat track, sweeping your crankbaits through undisturbed water right where feeding walleye are waiting.
In cold autumn water, walleye ignore tight, frantic lure vibrations. They want a slow, wide, rolling wobble that mimics an injured, oversized baitfish.
Troll at speeds between $1.1\text{ mph}$ and $1.5\text{ mph}$.
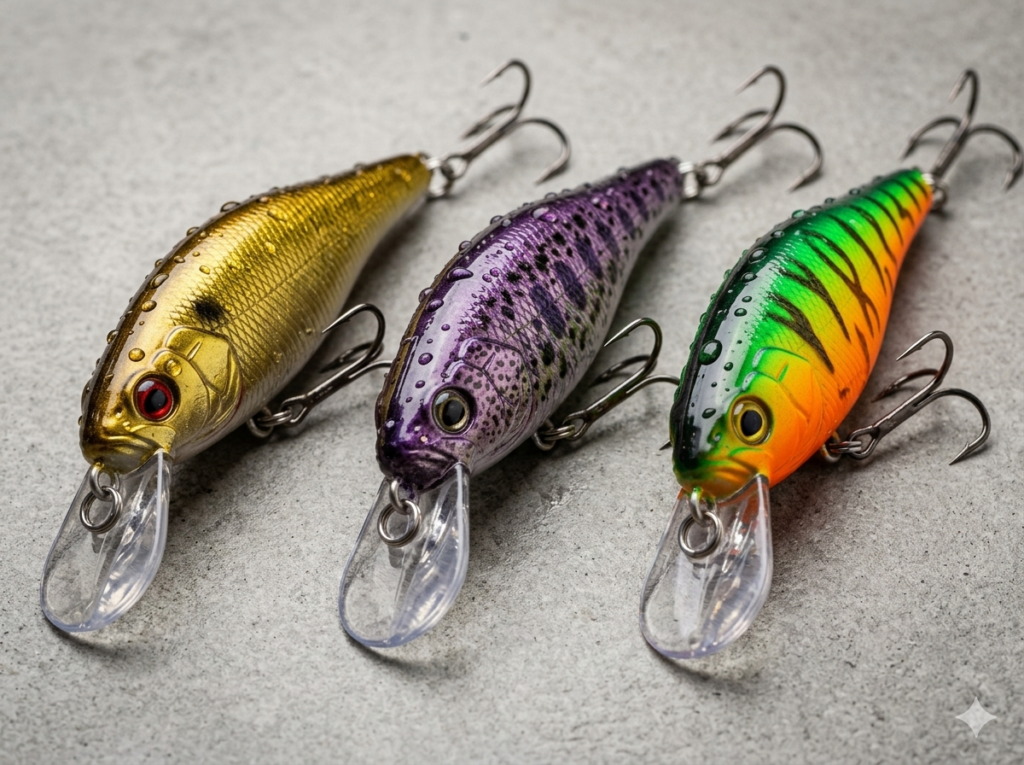
Top Night-Trolling Crankbaits:
Deep Minnow Profiles: Long-bodied crankbaits like Rapala Deep Husky Jerks, Berkley Hit Sticks, or Bandit Walleye Deep Divers.
Color Schemes: Dark silhouettes (like purple or black) stand out crisp against moonlit surface water, while metallic gold and chrome reflect ambient light.
Every waterfowler has experienced the frustration. A flock of mallards drop their feet, hovers beautifully right over the kill hole of your decoys, you pull the trigger on a textbook shot—and absolutely nothing happens. The birds flare, completely unscathed, leaving you staring down your barrel in disbelief.
When you miss a seemingly unmissable shot, it is easy to blame your lead, your shells, or the wind. But more often than not, the true culprit is hiding right at the end of your barrel: your shotgun choke.
Choosing the wrong choke restriction is the fastest way to turn a world-class morning in the blind into a series of clean misses and feathered cripples.
To help you drop more birds cleanly this autumn, let’s demystify exactly how shotgun chokes work with steel shot, and break down the exact setup you need for everything from tight timber to open big water.
The Core Concept: What Does a Choke Actually Do?
Think of your shotgun choke as a nozzle at the end of a garden hose. If you leave the hose wide open, the water spills out in a broad, soft, short-range spray. If you constrict the nozzle, the water tightens into a high-velocity, narrow stream that reaches all the way to the edge of the yard.
A choke does the exact same thing to your column of shot. It narrows the muzzle down by fractions of a millimeter to control how fast your steel pellets spread out after leaving the barrel.
Less Constriction: Yields a wider, open pattern closer to the boat—perfect for fast-moving, close-range birds.
More Constriction: Holds the pellets together in a tight, dense swarm across longer distances—essential for high-flying or passing shots.
The Big Three Waterfowl Chokes
While there are dozens of specialty choke tubes on the market, 90% of waterfowl hunting can be mastered using just three primary configurations.
1. Improved Cylinder (IC) — The Close-Range Specialist
The Blueprint: This is your widest practical hunting restriction. It allows the shot column to expand quickly after leaving the muzzle.
Ideal Range: 15 to 30 yards.
When to use it: Early morning teal hunts, small beaver ponds, or tight timber openings where ducks drop right into your lap out of nowhere. It gives you a massive margin for error on fast, close-quarter shooting.
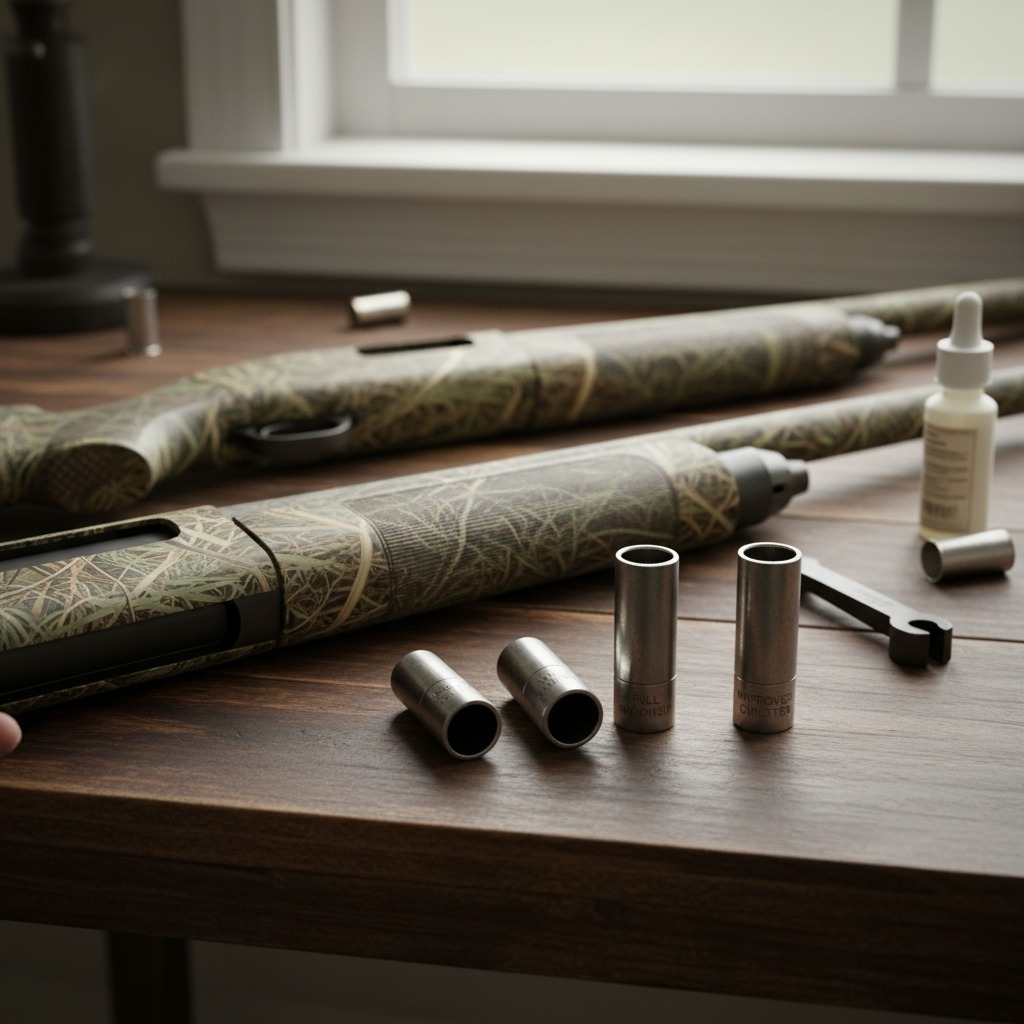
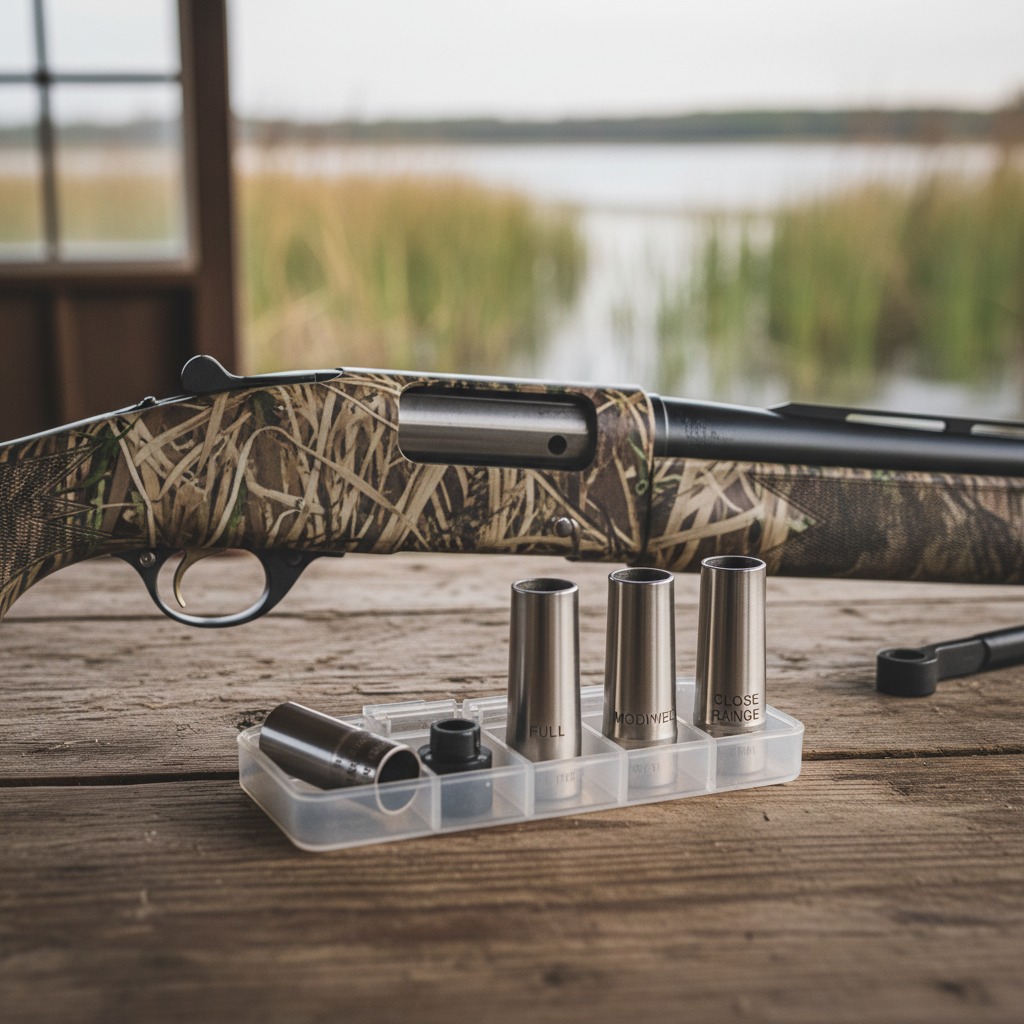
Various IC Chokes
2. Modified (M) — The All-Around Workhorse
The Blueprint: The absolute baseline champion of waterfowling. If you only own one choke tube for the rest of your life, make it a Modified.
Ideal Range: 30 to 45 yards.
When to use it: This is your primary choice for standard marsh hunting over a mixed decoy spread. It keeps your pattern tight enough to cleanly fold a mallard at 40 yards, yet retains enough forgiveness to hit a bird crossing at 25 yards.
Various M Chokes
3. Full Choke (F) — The Long-Range Sniper
The Blueprint: The tightest standard restriction, compressing the shot column to hold maximum density at extreme distances.
Ideal Range: 45 to 55+ yards.
When to use it: Open-water diver hunting on big lakes or pass-shooting late-season Canada geese crossing over agricultural fields.
⚠️ The Golden Rule: Steel Changes the Rules
If you grew up shooting lead shot at upland game birds or clay targets, you need to wipe your memory clean when it comes to waterfowl. Steel shot behaves completely differently inside a barrel than lead does.
Lead is a soft metal; it compresses and deforms smoothly as it passes through a tight choke constriction. Steel is incredibly hard and unyielding. Because steel pellets refuse to compress, they crowd each other through tight chokes, causing pellets to bounce off one another. This can actually ruin your pattern, creating erratic holes or a “blown” swarm.
The Steel Rule of Thumb: Steel shot patterns one full restriction tighter than lead.
This means if you screw a Modified choke into your gun, firing steel shot through it will actually produce a dense Full pattern profile. Consequently, you should almost never fire large steel shot through a traditional Full choke unless the tube is explicitly labeled by the manufacturer as “Steel Shot Approved.” Doing so can cause pattern degradation or even damage your shotgun barrel.
How to Dial In Your Setup Before Opening Day
Don’t guess what your gun is doing. Two weeks before the season opens, grab a large roll of cardboard or paper targets, pace out 35 yards, and shoot your hunting load through your different tubes.
Look for the choke that leaves a balanced, round swarm of holes with no giant blank spaces where a duck could slip through. Once you find that perfect lockup, screw it in tight, leave the fumbling anxiety behind, and confidently focus on your lead when the first flock drops in.
Need to upgrade your barrel setup before the opener? Explore the full selection of performance factory and aftermarket choke tubes at Cabela’s or browse tactical shotgun accessories on Amazon.
Want more technical gear breakdowns? Return to our main index or open the Mojo Decoy Pro App to track real-time wind adjustments for your next marsh setup!
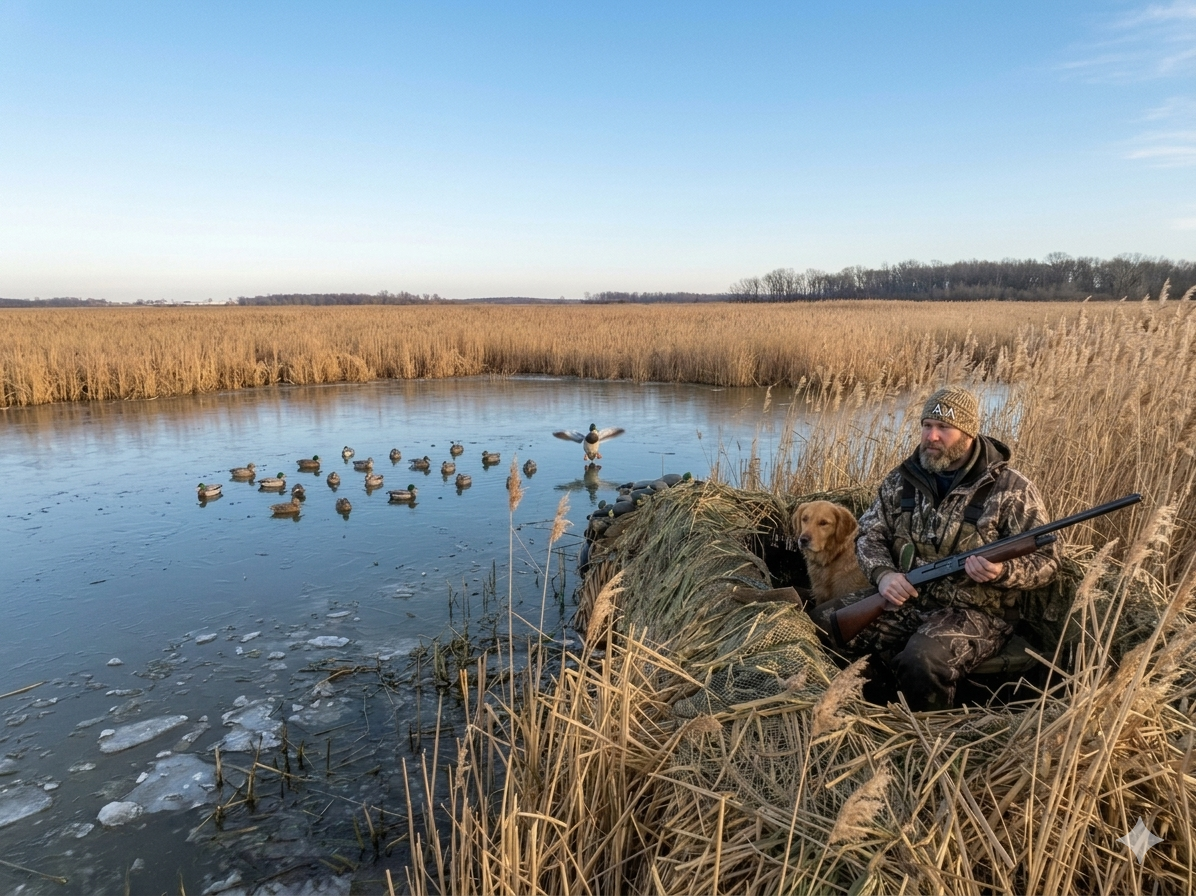
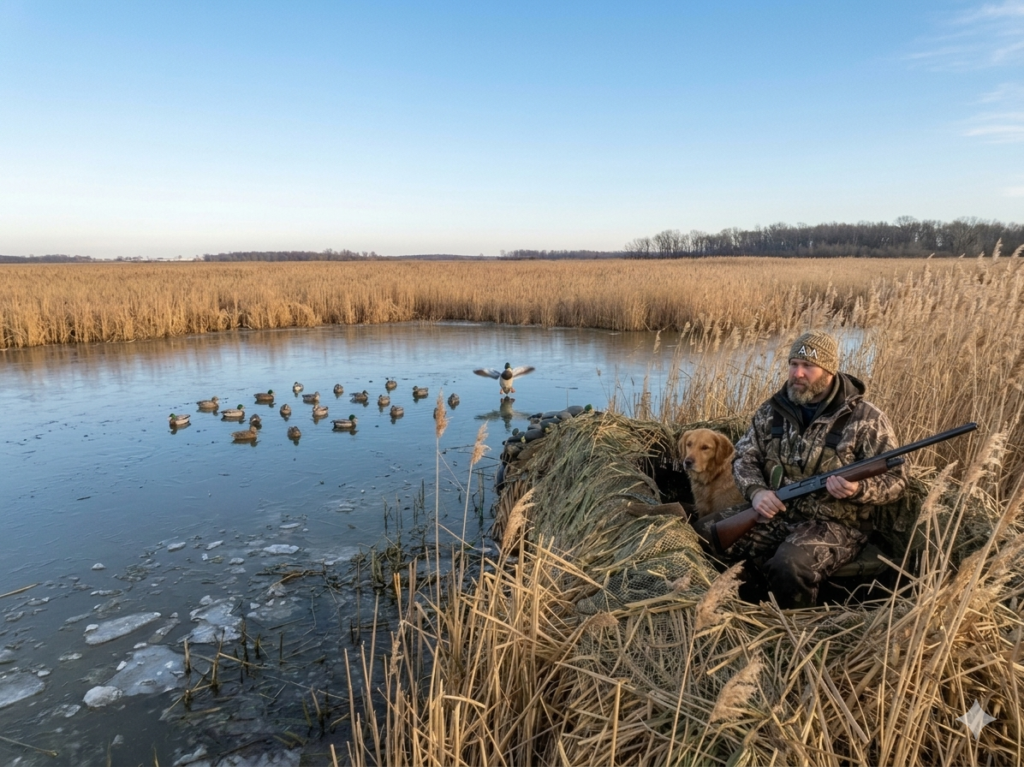
September waterfowl openers are a breath of fresh air after a long summer waiting for hunting season. The weather is mild, the local ducks haven’t seen heavy hunting pressure yet, and flocks of early-migrating Blue-Winged Teal are buzzing through shallow marshes.
However, many hunters make the mistake of deploying their heavy November spreads right out of the gate—setting out six dozen bright, late-season drakes in tight formations.
Early-season ducks look completely different. Birds are still in their drab, brown eclipse plumage, family groups are small, and they prefer shallow, loose feeding arrangements.
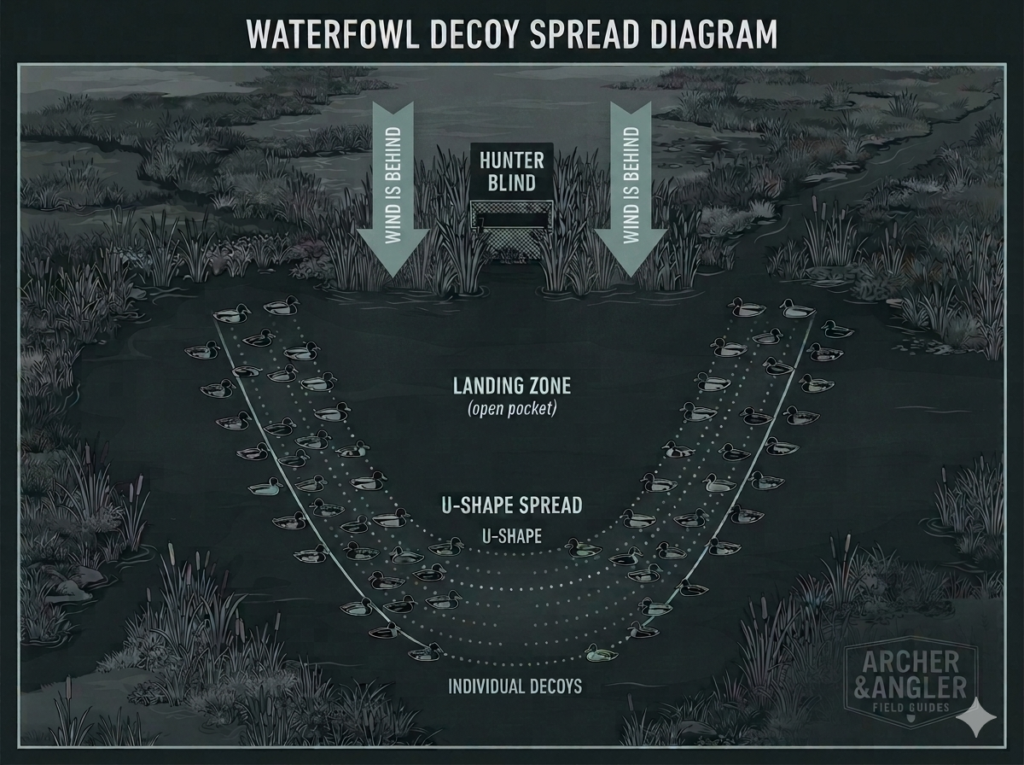
To fill your bag on opening morning, here are three proven early-season decoy layouts.
1. The “Loose Blob” Teal Spread
September Teal are fast, erratic, and naturally land directly on top of other ducks rather than circling into a formal landing zone.
Instead of building complex shapes, throw out a compact group of 8 to 18 decoys in a loose, casual cluster about 15 yards directly in front of your blind.
2. The Mixed-Eclipse Spread (Mallards & Wood Ducks)
Local mallards and wood ducks in September are skittish around bright colors. If your spread is full of brilliant white and green late-season drake heads, wary local birds will flare.
Mix 70% hen mallard decoys (or drab eclipse drake decoys) with a handful of wood duck blocks tucked tight against the vegetation line.
3. High-Velocity Water Motion
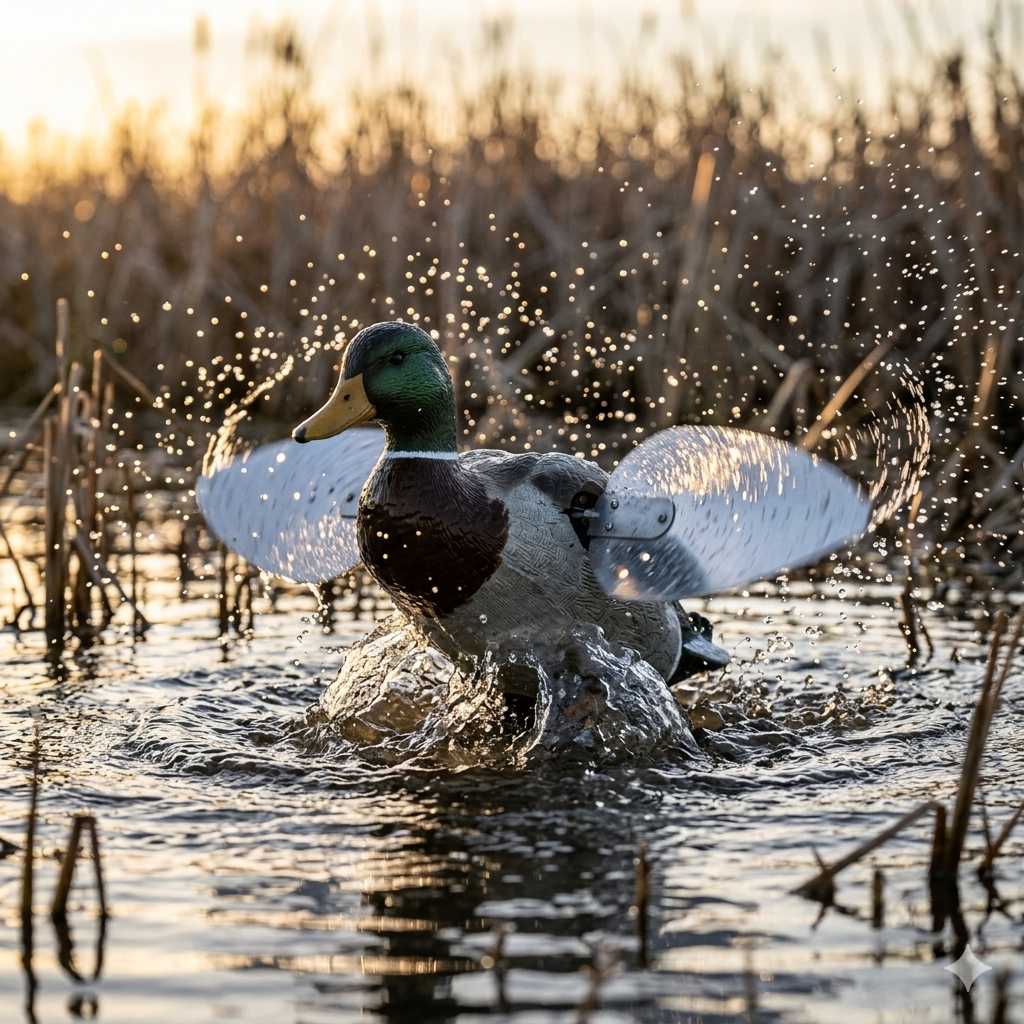
September mornings are often dead calm. On still water, motionless plastic decoys look completely fake to incoming flocks. Adding water movement is the single most important factor for early-season success.
Jerk Rigs: A simple manual pulley system connected to 4 decoys creates natural, lifelike ripples across the entire marsh.
Spinning Wing Decoys: Early-season ducks are drawn to the flash of spinning wings like moths to a flame.
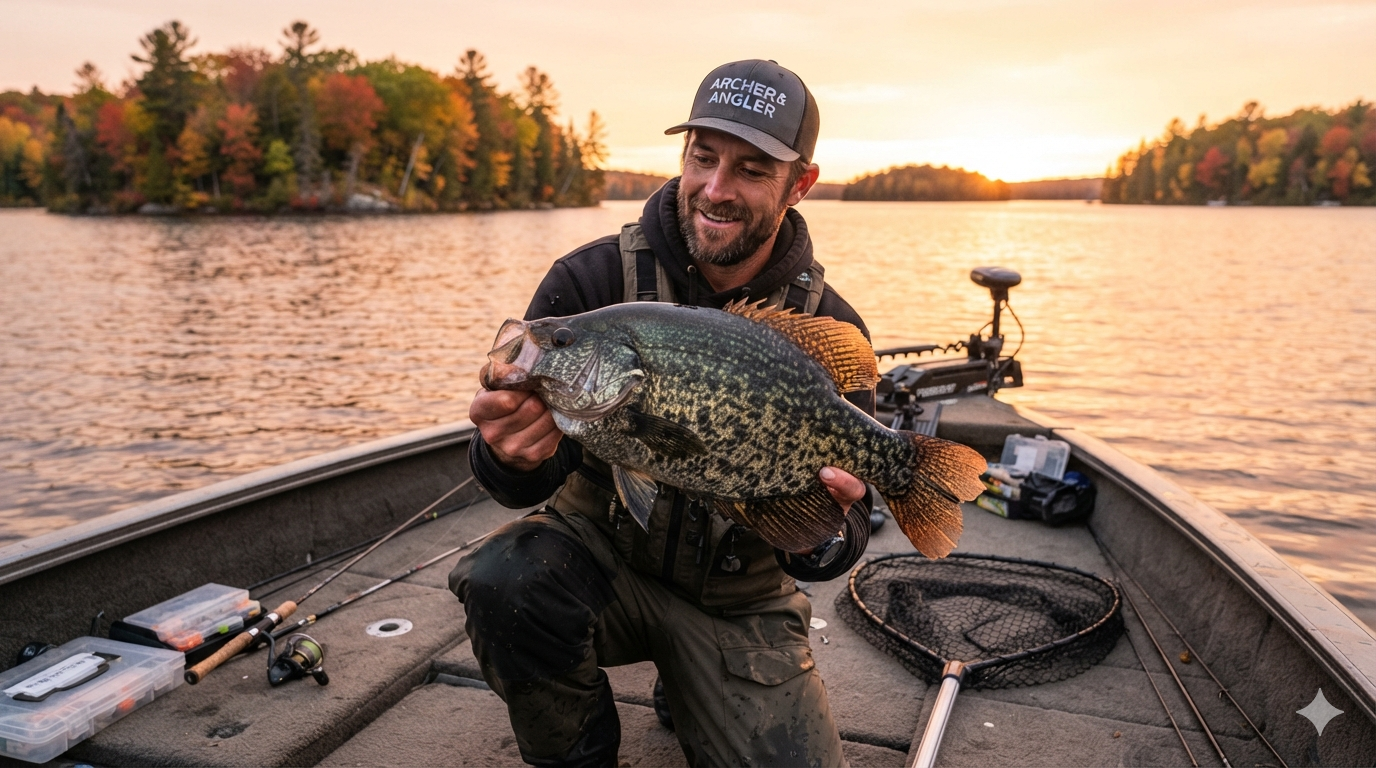
When late August rolls around and summer water temperatures begin their first steady drop, bluegill and bass aren’t the only fish undergoing major seasonal shifts. Panfish—specifically crappie—begin leaving their shallow summer weed cover to form massive, tightly packed schools out in open water basins.
If you continue casting small spinners along shoreline docks or shallow weed edges, your catch rate will plummet.
During the early fall transition, crappie shift their diet entirely toward young-of-the-year baitfish suspended in deep water. Catching them requires switching from visual shoreline bank-beating to electronic deep-water sniper tactics.
Here is how to locate and haul in autumn slab crappies when they make the open-water move.
1. Locate the Open Basin Thermocline
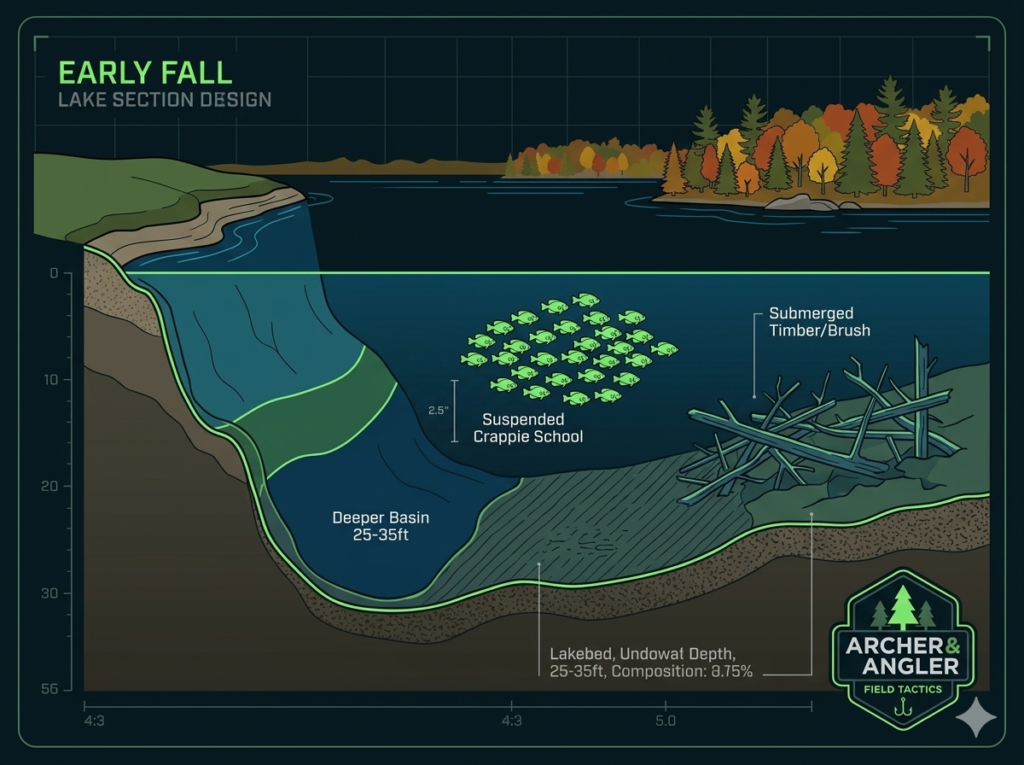
Early fall crappies don’t sit on the bottom. Instead, they suspend midway down in the water column over deep lake basins (typically 25 to 35 feet deep).
Use your fish finder to scan deep pockets adjacent to summer spawning bays. You are looking for dense, “cloud-like” clusters suspended anywhere from 10 to 18 feet below the surface.
Because crappies have upward-facing eyes, they almost always feed on baitfish swimming above them. If your bait drops even six inches below the school, they will ignore it completely.
The golden rule of early fall crappie fishing is to keep your bait 1 to 2 feet above the highest fish in the school.
The Setup:
The Line: Spool up with ultra-thin 4 lb test fluorocarbon or 6 lb yellow high-visibility braid tied to a fluorocarbon leader.
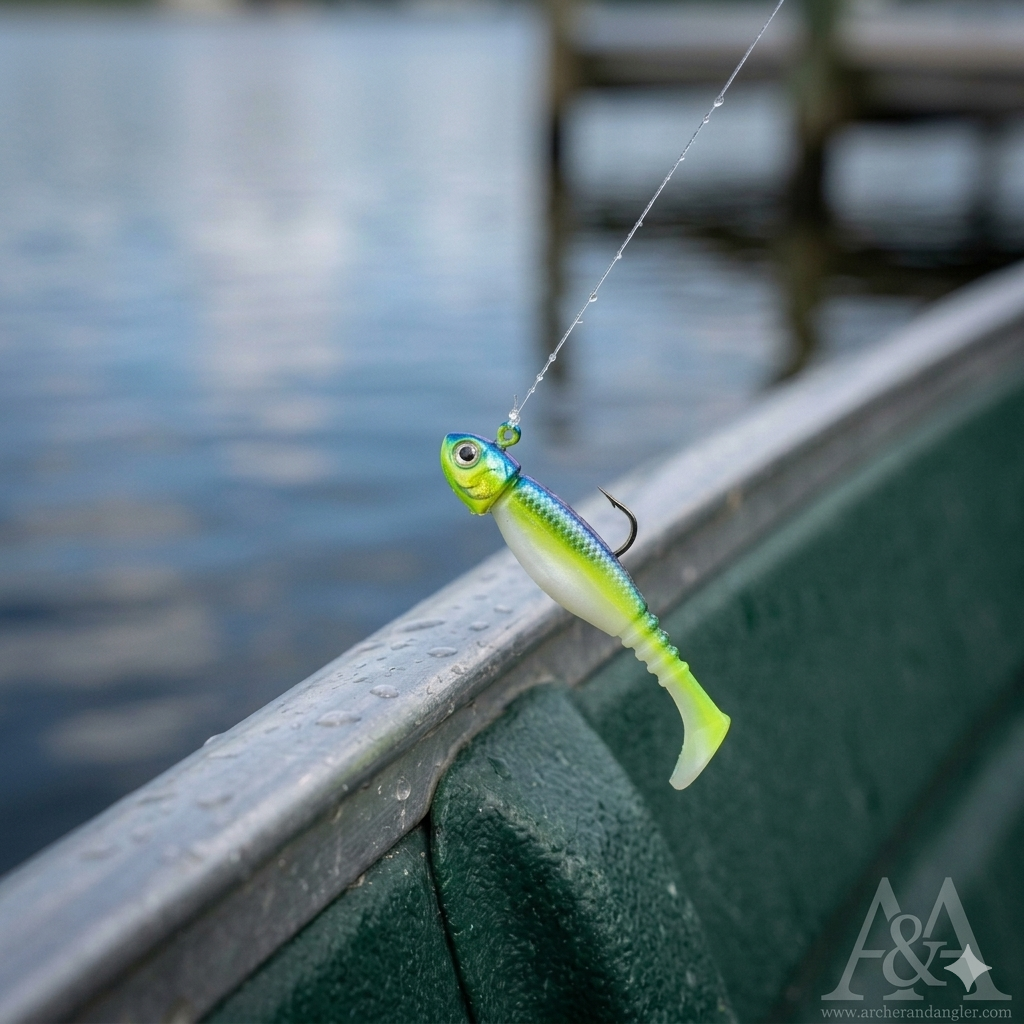
The Jig: A 1/16-oz or 1/32-oz tungsten jig head. Tungsten is denser than lead, allowing your small profile to drop fast and show up clearly on your sonar screen.
The Soft Plastic: 2-inch micro swimbaits or straight-tail minnow plastics in white, pink, or chartreuse.
When water temperatures drop, aggressive jigging will spook suspended panfish. Once you lower your jig directly above the school, hold your rod tip completely still.
Allow the natural motion of the boat’s drift or slight wrist tremors to impart a subtle, lifelike quiver to the plastic tail. When a slab commits, you won’t feel a heavy strike—your line will simply go slack or feel light as the crappie lifts the bait upward.
Hide from the Sky: The Secret to Perfect Waterfowl Blind Concealment
You can have a thousand dollars worth of elite decoys in your spread and an app-controlled motion setup dialed in perfectly, but if your blind stands out against the natural marshscape, ducks will flare away every single time.
Waterfowl possess incredible eyesight. They easily notice sharp geometric lines, unnatural dark shadows, and the dead-giveaway shine of a human face or an uncovered gun barrel.
As early resident goose and duck openers approach across Canada, spending a weekend optimizing your blind concealment is the most important step you can take. Here is how to blend into the landscape seamlessly.
1. The Golden Rule: Match the Local Floor
Never brush your blind using vegetation collected from your backyard or a different location. If you are hunting an agricultural corn field edge, you must brush your layout blind completely with dry corn stalks. If you are tucked into a cattail marsh, you must use local, dead cattails. Even a slight variation in the shade of green or tan looks like a glaring red flag from the sky.
2. Eliminate Shadows and Mud Your Fabric
Brand-new layout blinds or boat blinds have a factory sheen on the fabric that shines brightly under early morning sunlight.
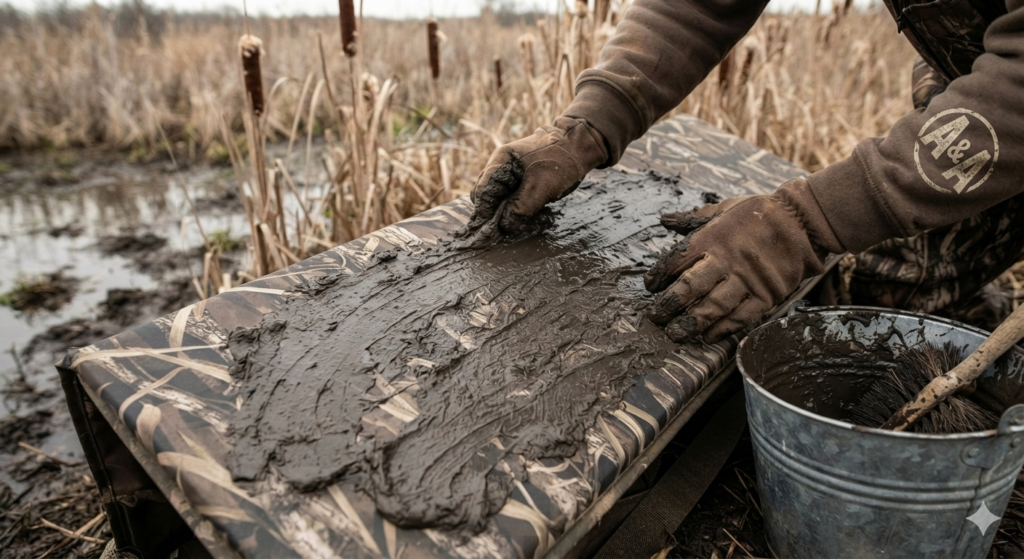
The Solution: Before taking a new blind to the field, mix up a bucket of thick, dark pond mud and smear it completely over the fabric. Let it dry and brush off the clumps. This leaves a dull, ultra-flat finish that absorbs light beautifully.
Use bundle straps to weave native grasses across the top framework of your setup to completely break up the harsh, straight-line shadow of the blind’s roof box.
Going Deep for Lakers: Mastering Mid-Summer Lake Trout Trolling
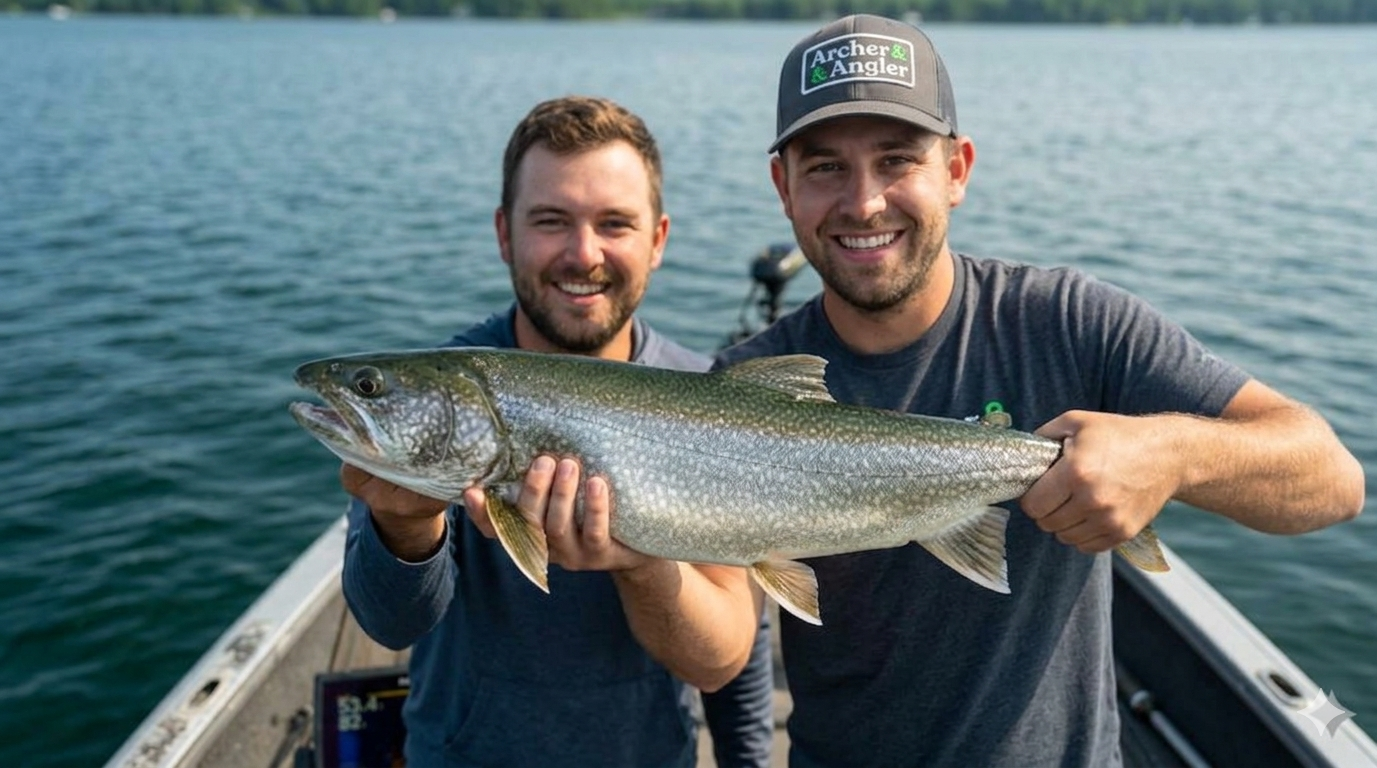
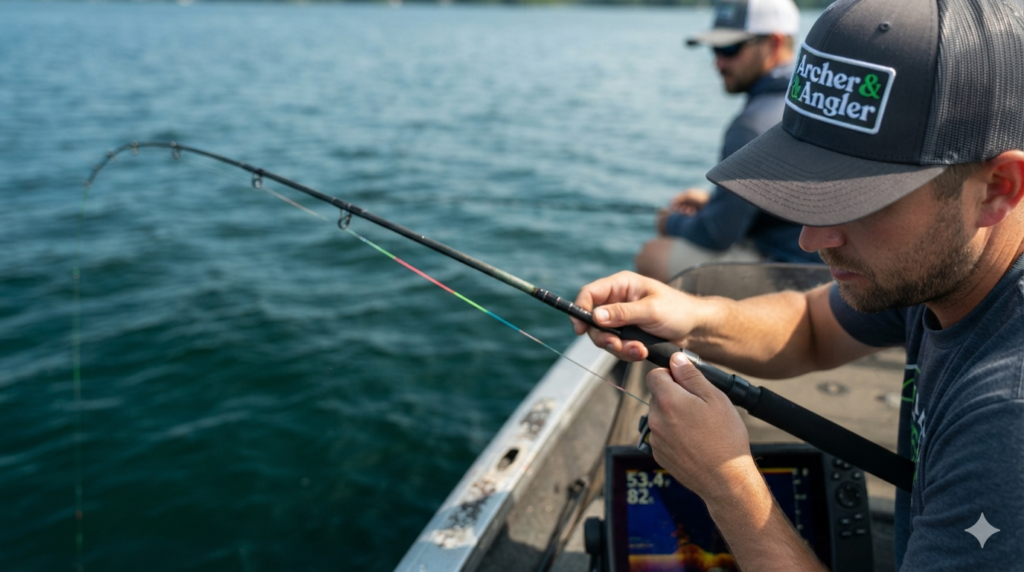
While other sportfish slow down in August, Ontario’s deep-water lake trout fishery enters its absolute prime. Lake trout prefer a highly specific, cold water column environment—ideally holding right around 53 F. By late summer, that temperature band sits way down in the depths, typically between 60 and 100 feet deep over central lake plateaus.
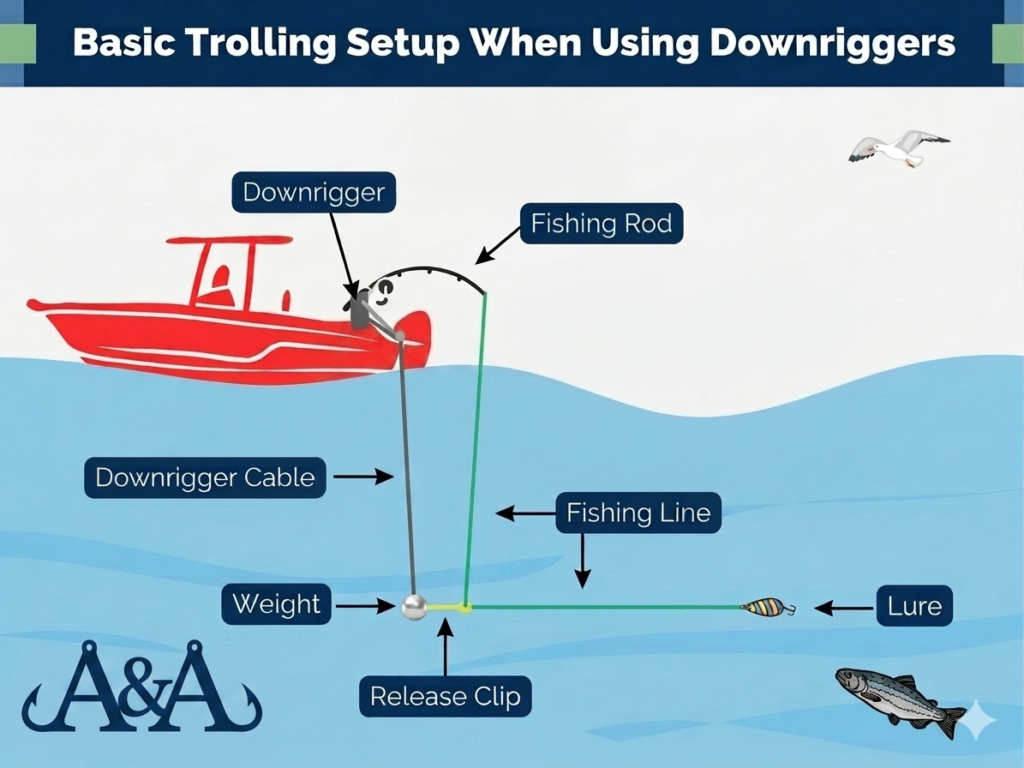
To catch them, you have to play the deep-water trolling game. This requires specialized gear designed to deliver your lures down into the abyss without letting the water drag your line straight back to the surface.
1. The Heavy Steel Solution: Wire and Lead Core Lines
If you do not own expensive downriggers, you can achieve deep-water dominance by spooling your line up with Lead Core Line or heavy Braided Stainless Steel Wire Line.
Lead Core: This weighted nylon line sinks at a predictable rate of roughly 5 feet of depth for every 30 feet of line deployed at a trolling speed of 1.5 mph. Running “10 colors” out puts your lure exactly at the 50-foot mark.
Steel Wire: Wire sinks fast and slices clean through water resistance, allowing you to reach deep basins with far less line out back behind the boat.
2. The Presentation: Lazy Wobbles and Flashers
Lakers down in the dark depths are highly visual predators. You need a setup that combines massive light reflection with a slow, wide swimming action.
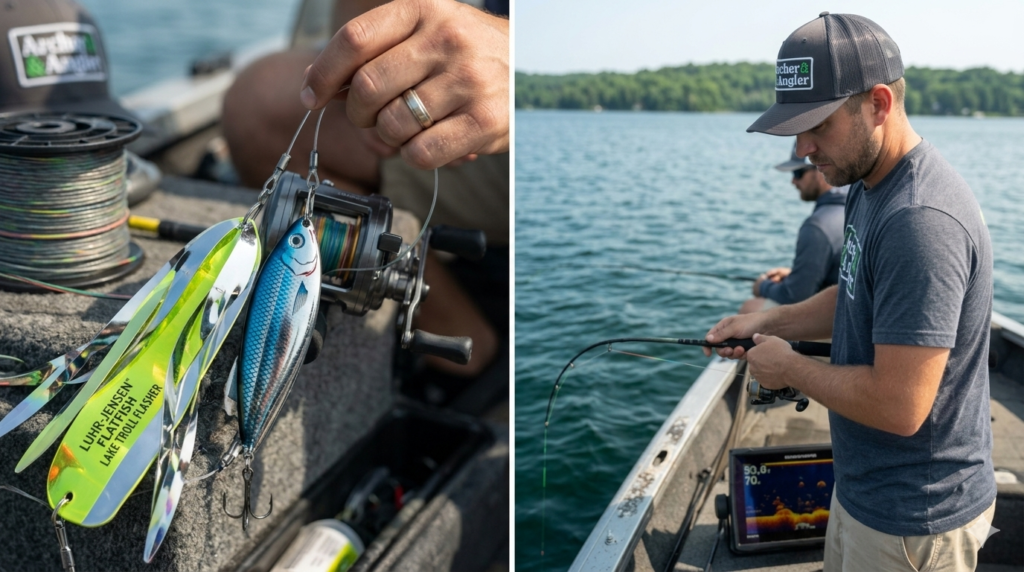
The Attractor: Run a massive 8-inch chrome or chartreuse lake troll flasher string.
The Bait: Behind the flasher, attach a 3-foot fluorocarbon leader tied to a lazy-action lure like a Luhr-Jensen Flatfish or an original Williams Wabler spoon. Trolled slowly at 1.2 to 1.8 mph, this combo creates a massive pulsing vibration that draws lakers in from fifty feet away.
Summer Treestand Hanging: How to Prep Your October Funnels Now
The absolute worst time to hang a new whitetail deer stand is a week before your hunting season opens. Tramping through the woods in September sawing branches, pounding steps, and sweating all over key travel corridors introduces massive pressure right as mature bucks are hardening their velvet and shifting into their autumn routines.
Late July is the golden window to lock down your stand placements. The brush is thick enough to show you exact concealment cover lines, yet you have months for your human scent footprint to completely wash away before opening day.
Here is how to hang your stands right now for maximum tactical success this fall.
1. Map the Hidden Micro-Funnels
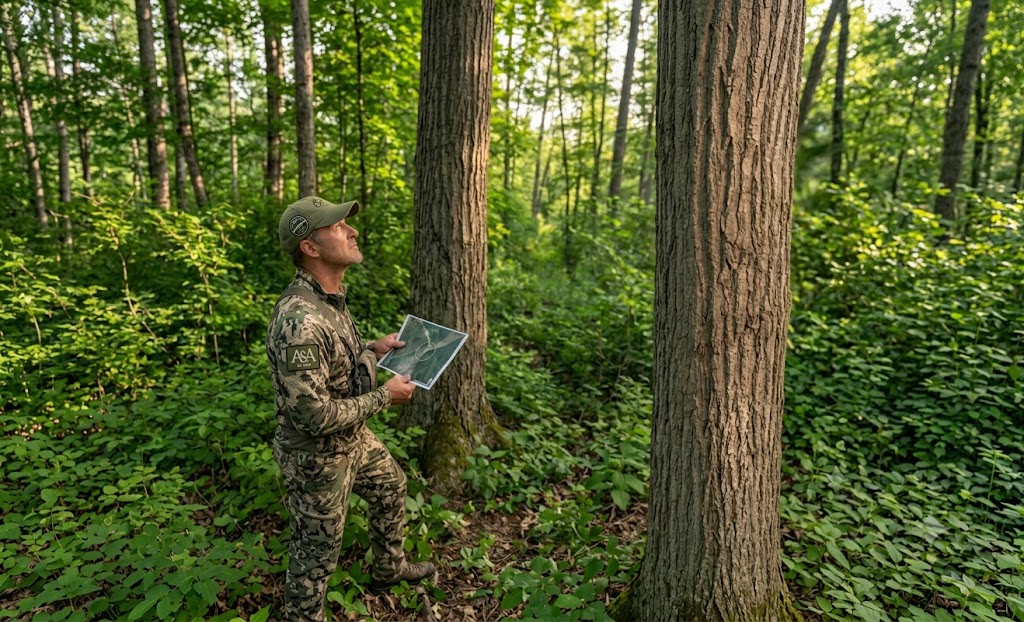
Use your summer trail camera intelligence and satellite maps to find travel funnels. Look for pinch points between bedding areas and agricultural food sources:
A narrow strip of hardwoods connecting two major brush blocks.
An inside corner of a standing crop field.
A shallow creek crossing showing heavy track indentations.
2. Hang High and Clear Your Lanes
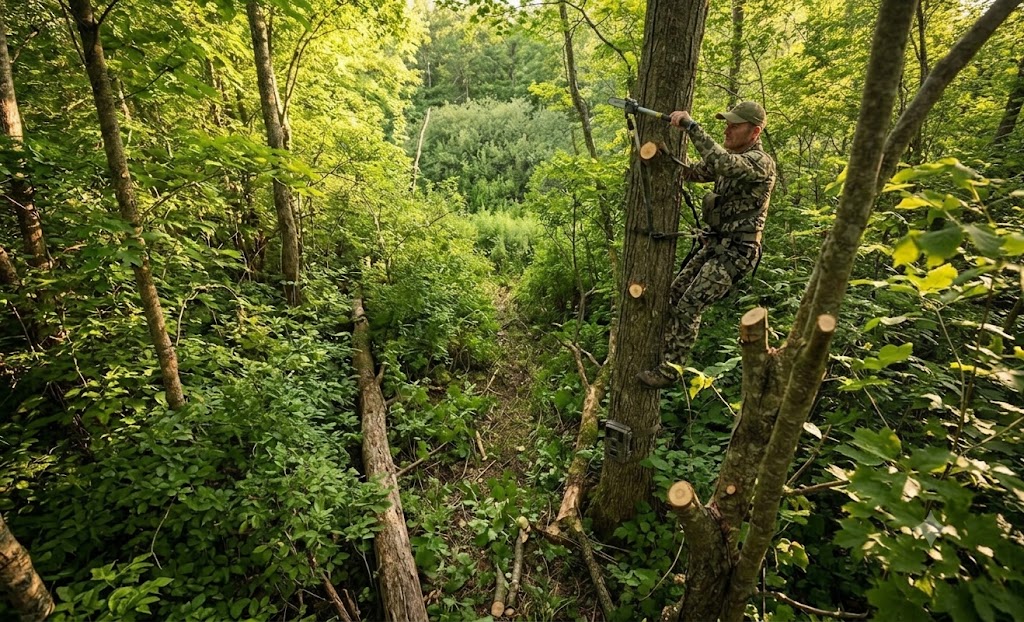
When installing your hang-on setups or climbing sticks, aim for a baseline height of 18 to 22 feet. Hanging higher prevents your silhouette from catching the eye of a wary doe and helps cast your human scent far above a deer’s nose stream.
Clear only two or three tight, high-percentage shooting lanes. Cutting out every branch around your stand leaves you completely exposed like a beacon against the sky. Leave the cover directly in front of and behind your seat completely intact.
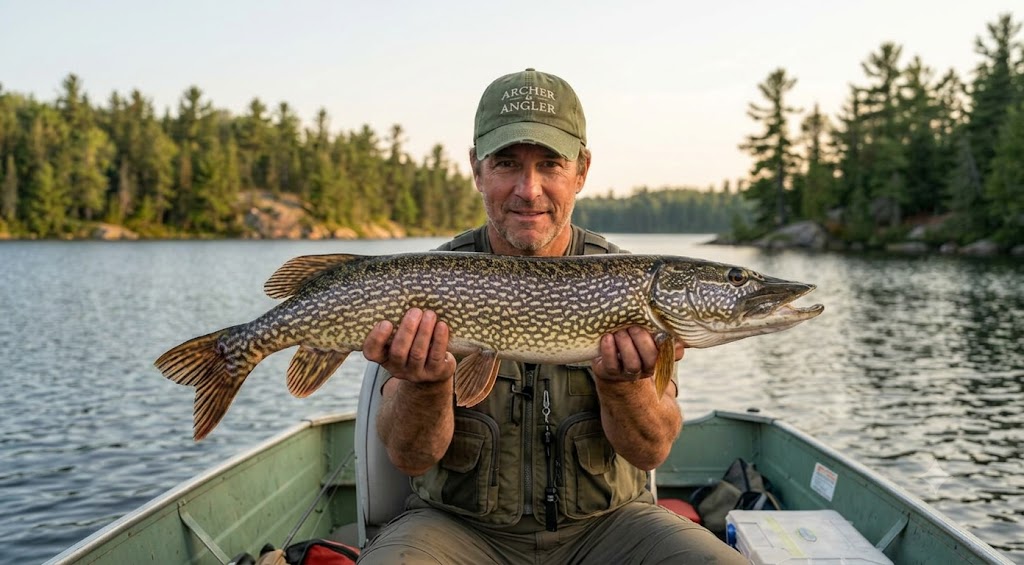
Deep Weed-Edge Pike: How to Catch Monster Northerns in Mid-Summer
When the water temperatures climb in mid-July, the easy spring pike bite in the shallow bays disappears completely. Most casual anglers assume the northern pike have gone dormant, but they’ve simply relocated.
Big pike are cold-water predators. To survive the heat, they back out to deep-water structures—specifically cabbage weed lines and steep drop-offs adjacent to deep water basin boundaries in 15 to 25 feet of water.
If you want to pull a real lake monster out of the depths this summer, you need to step away from the shoreline and fish the deep vertical edges. Here is your mid-summer blueprint.
1. Locate the “Gator” Real Estate
Look for deep, healthy green cabbage weed beds. Brown, dying weeds lack oxygen and repel fish, but crisp green cabbage provides the perfect temperature break, a massive oxygen canopy, and an ambush point for passing baitfish. Use your electronics to find where the outside edge of these weed walls drop sharply into open, cool water.
2. The Presentation: Heavy Power Fishing
To get deep into the thick cabbage without fouling your hooks constantly, you need heavy, weedless power presentations that emit massive vibration.
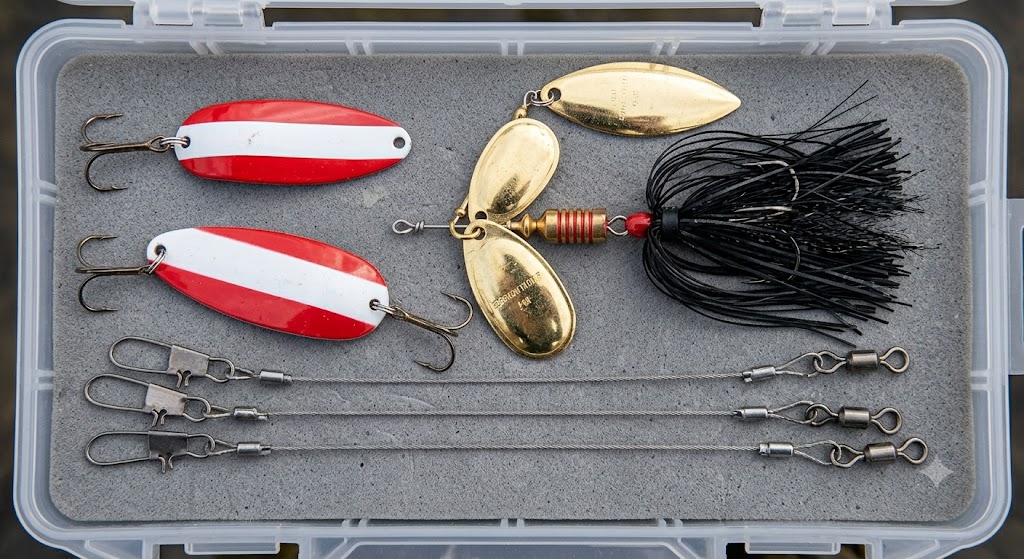
In-Line Spinnerbaits: Massive double-willow blade spinnerbaits or heavy bucktails thrown parallel right down the face of the weed wall.
Deep Diving Spoons: Classic heavy casting spoons like the Eppinger Dardevle or Williams Wabler let you count the lure down to the deep weed roots before initiating a sweeping, irregular retrieve.
Right now, a buck’s antlers are growing at an incredible rate, coated in highly sensitive velvet. Because their antlers are soft and easily damaged in the summer, mature bucks completely change their behavior. They avoid thick brush and spend their days hanging out in open, easy-to-navigate bachelor groups.
Summer is the absolute premium window to inventory the deer on your hunting property. But if you walk deep into the woods, tramping your human scent all over their bedding areas to check cameras, you will educate the older bucks and ruin your fall funnel spots before the season even starts.
Here is the low-impact summer trail camera strategy to map out your hunting ground cleanly.
1. Shift to the Edge: Mineral and Food Sources
Do not go deep into the bush during the summer. Instead, keep your trail cameras locked onto the outer perimeters of your hunting layout:
Major agricultural field edges (alfalfa, soybeans).
Active summer water holes or natural mineral sites.
The Setup: Hang your cameras facing North or South. If your camera faces directly East or West, the blinding summer sunrise or sunset will trigger white-out photos, ruining your view of a buck’s rack layout.
2. Embrace Cellular Technology
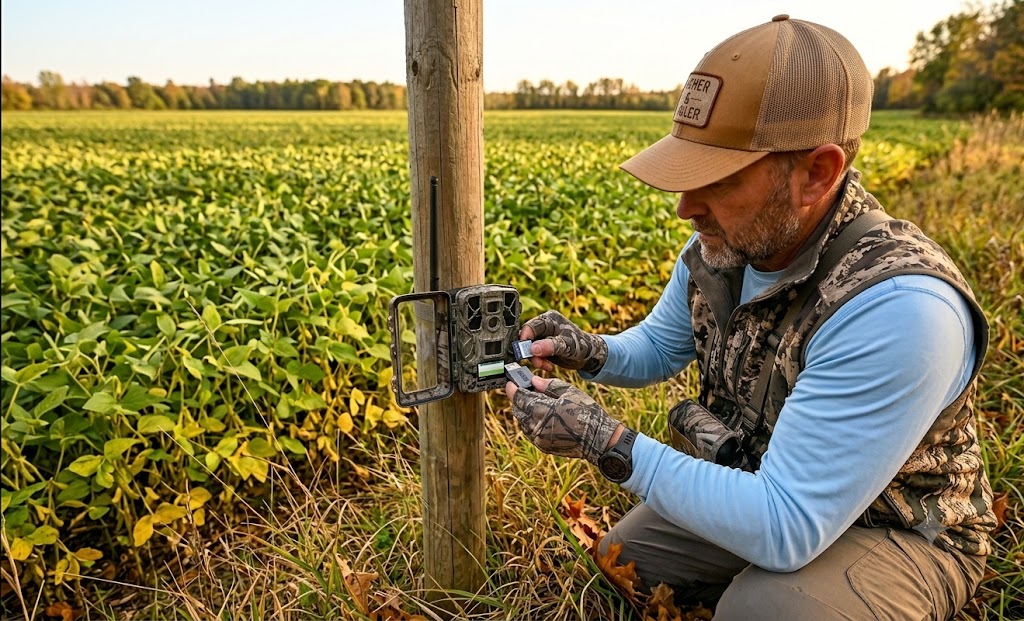
The greatest advancement in modern scouting is the cellular trail camera. Every time you physically walk out to pull an SD card, you leave a trail of ground scent that alerts deer.
The Fix: Deploy high-quality cellular cameras on the field perimeters in July. They beam real-time velvet photos straight to your smartphone app. You can monitor antler growth and feeding timelines from your living room without stepping foot in the woods for months.
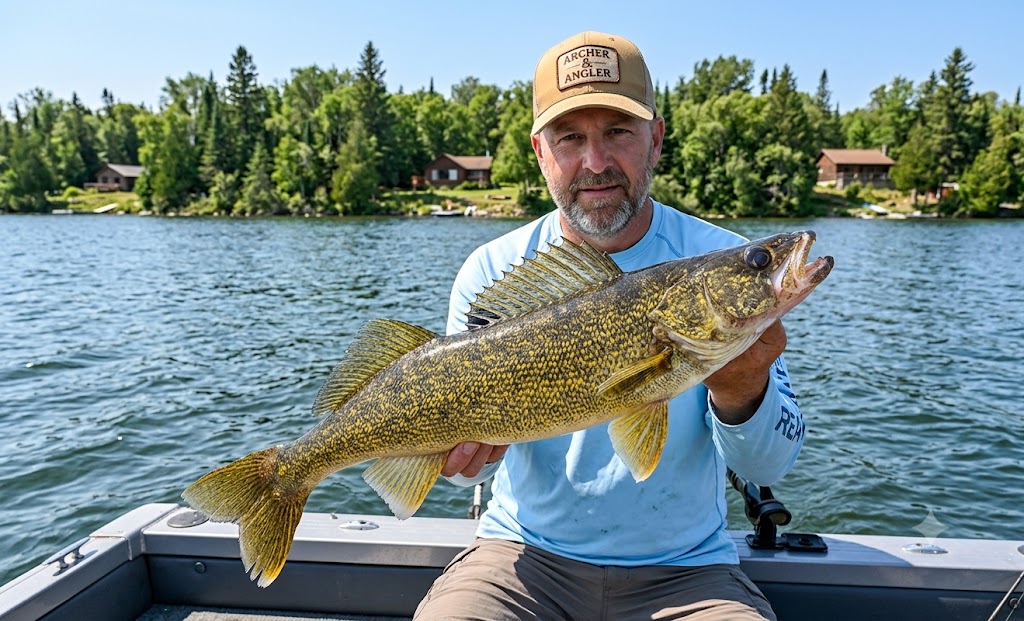
We have all been there. The early morning walleye bite was incredible, but the moment the sun tops the treeline and turns into a bright, bluebird sky, the action dies. By noon, the lake feels like a desert, and most boats pack it up and head back to the cabin.
It is a common myth that walleye stop feeding when the sun is bright. Because walleye possess highly sensitive, light-gathering eyes, they simply loathe the intense glare of a mid-day sky. They don’t stop eating; they just retreat deep into thick weed lines or slide down into deep, dark bottom transitions where the sun cannot penetrate.
If you know how to hunt them in the dark zones, you can have the entire lake to yourself and catch your biggest fish of the day while everyone else is eating lunch.
1. Target the Windward Mud Flats
If there is a steady summer breeze blowing across the lake, look at your map and locate deep mud flats (22 to 30 feet) where the wind is pushing directly against the structure. The waves mix up the sediment, creating a natural, cloudy canopy underwater that shields the walleye’s sensitive eyes while disorienting baitfish.
2. The Tactic: Heavy Bottom Bouncers and Spinner Rigs
To get down to these deep, sun-evading fish, you need to use heavy-duty bottom bouncers (2 oz to 3 oz) paired with a crawler harness.
The Action: Troll at a slow crawl (0.8 to 1.2 mph). Let the heavy lead weight drag continuously along the mud bottom, kicking up little puffs of debris.
The Rig: Use a two-hook harness tipped with a massive, live nightcrawler. Choose metallic blades (gold or copper) that flash cleanly down in the darkness to mimic a fleeing perch.